Bootstrap ReactJS is one of the tools that make software developers’ lives easier and more efficient.
Getting started can be overwhelming if you’re new to Bootstrap and ReactJS. That’s why we’ve created this step-by-step guide to help you learn how to use Bootstrap with React. In this guide, we’ll walk you through the process of setting up a React project with Bootstrap, creating and styling components, and adding responsive design to your application.
Whether you’re a beginner or an experienced developer, this guide will provide you with the knowledge and skills about Bootstrap ReactJS. So, let’s get started!
Definition of Bootstrap ReactJS
Before we dive into Bootstrap ReactJS, it’s necessary to understand the meaning of Bootstrap and ReactJS.
Bootstrap
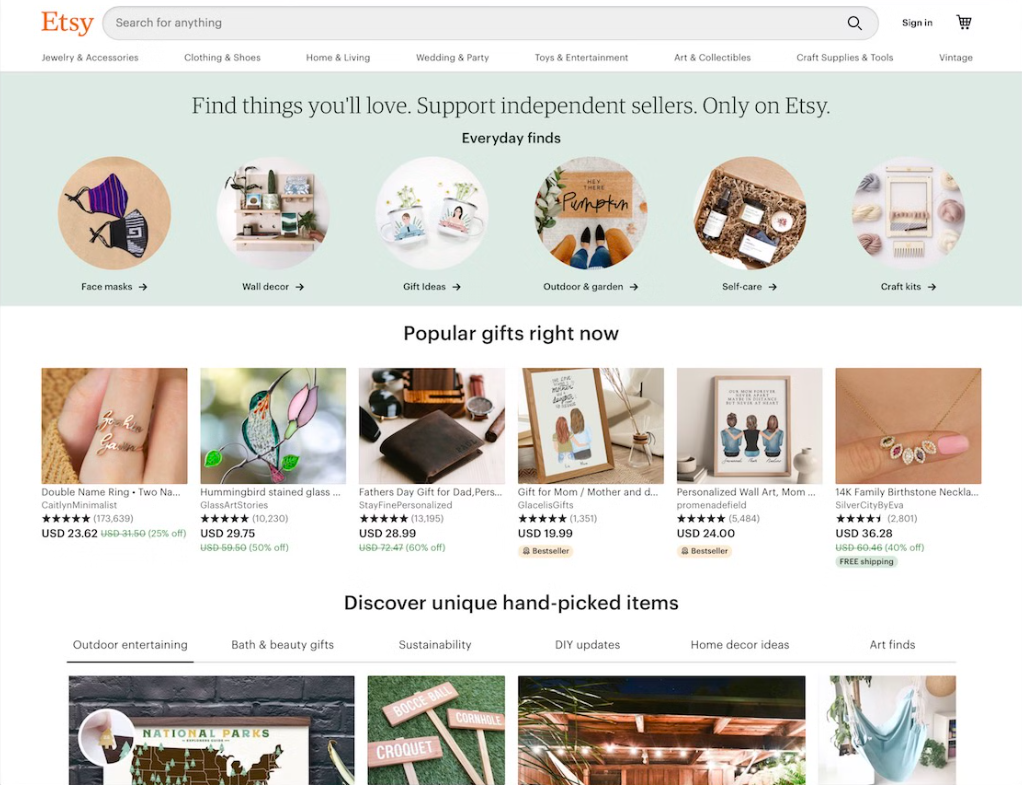
Bootstrap is a free and open-source front-end framework that Twitter developed. It is a collection of CSS and JavaScript components that make creating responsive and mobile-first websites easy. Bootstrap has become one of the most popular front-end frameworks in the world, with millions of websites using it, such as Etsy, Trello, etc.

ReactJS
ReactJS is a JavaScript library for building user interfaces, thanks to the development of Facebook. It is one of the most popular JavaScript libraries in the world. ReactJS allows developers to build complex user interfaces with reusable components.
Bootstrap ReactJS
Bootstrap ReactJS is a combination of Bootstrap and ReactJS. It is a set of pre-built components allowing developers to create responsive and mobile-first websites using ReactJS easily. With Bootstrap ReactJS, developers can use the power of ReactJS to build complex user interfaces while also taking advantage of the features and components of Bootstrap.

Advantages of using Bootstrap ReactJS
When you put Bootstrap and ReactJS together, it builds up a powerful development stack that offers many benefits for developers.
Streamlined Development
Bootstrap provides pre-built CSS classes, JavaScript plugins, and components that can be easily integrated into a React application. The variety of this framework makes the development process faster and more efficient. ReactJS, on the other hand, provides a component-based architecture that allows developers to create reusable UI elements. Combining these two frameworks can significantly help developers reduce the time to build basic components and spend more time creating complex user interfaces.
Responsive Design
With a mobile-first approach, Bootstrap prioritizes the design of mobile devices. Meanwhile, ReactJS provides a reactive user interface that automatically adjusts to application state changes. Bootstrap and ReactJS can create highly responsive and mobile-friendly web applications when used together. Developers can use Bootstrap’s grid system to create responsive layouts, while ReactJS can handle dynamic user interfaces and interactions on all devices, including desktops, tablets, and smartphones.
Consistent Design
When using Bootstrap, you can be sure that all UI elements look and behave the same way across different web pages. This facilitates maintaining consistent brand identity and user experience throughout the application. It’s even more helpful that ReactJS allows developers to create reusable UI components that can be easily shared across different application pages. This means developers can ensure that all UI elements are consistent and maintainable.
Customization
Software developers can customize various options with Bootstrap, including colors, typography, and spacing. Modifying the design system to match the application’s branding and design requirements is, therefore, trouble-free. Along with ReactJS, you can create unique and stunning websites hassle-free.
Features of Bootstrap ReactJS
Several features make Bootstrap ReactJS a powerful tool for web development. Below are some of the most popular ones:
- Pre-built components: Including buttons, forms, navigation, etc.
- Grid system: The power grid system has a 12-column layout and can be easily customized to meet the website’s needs.
- Theming: Design the look and feel of your application using pre-built color schemes or by defining your own.
- Typography: Including a set of typography styles and class styles, text, and headings.
- Accessibility: Bootstrap ReactJS is designed with accessibility in mind and includes features like ARIA attributes and keyboard navigation.
- Performance: Bootstrap ReactJS is optimized for performance and includes features like lazy loading and code splitting to ensure your application runs smoothly and quickly.
- Cross-browser compatibility: Work seamlessly across different web browsers, ensuring your application is accessible to the broadest possible audience.
How to get started with Bootstrap ReactJS
If you need to learn how to get started with Bootstrap ReactJS, let us walk you through the most basic steps and hands-on training in just a few minutes.
- Set Up Your React Project
You’ll need to set up a new React project to use Bootstrap with React. You can do this by running the following commands in your terminal.
npx create-react-app my-app cd my-app
This will create a new React project called “my-app” and navigate you to the project directory. - Install Bootstrap
The next step is to install Bootstrap on your project. You can do this by running the following command in your terminal.
npm install Bootstrap
This will install the Bootstrap package in your project. - Import Bootstrap
After installing Bootstrap, import it into your React project. You can do this by adding the following line of code to your index.js file:
import 'bootstrap/dist/css/bootstrap.css';
This will import the Bootstrap CSS file into your project. - Create Your Components
The next step is to create your React components. You can create a new file for each element in your project directory. For example, you might create a Header.js file for your application header.
- Style Your Components with Bootstrap
Now that you have your components, it’s time to style them with Bootstrap. You can do this by adding Bootstrap classes to your component HTML elements. For example, you might add the navbar class to your application header to create a Bootstrap navbar:
import React from 'react'; function Header() { return ( <nav className="navbar navbar-expand-lg navbar-light bg-light"> <div className="container-fluid"> <a className="navbar-brand" href="#">My App</a> <button className="navbar-toggler" type="button" data-bs-toggle="collapse" data-bs-target="#navbarNav" aria-controls="navbarNav" aria-expanded="false" aria-label="Toggle navigation"> <span className="navbar-toggler-icon"></span> </button> <div className="collapse navbar-collapse" id="navbarNav"> <ul className="navbar-nav"> <li className="nav-item"> <a className="nav-link active" aria-current="page" href="#">Home</a> </li> <li className="nav-item"> <a className="nav-link" href="#">About</a> </li> <li className="nav-item"> <a className="nav-link" href="#">Contact</a> </li> </ul> </div> </div> </nav> ); } export default Header; - Add Responsive Design
Bootstrap makes the creation of responsive designs that look great on any device effortless. You can do this by adding Bootstrap responsive classes to your component HTML elements. For example, you might add the container class to your application container to create a responsive layout:
import React from 'react'; function App() { return ( <div className="container">
Best practices to use with Bootstrap ReactJS
Learn the best practices for using Bootstrap and ReactJS to work seamlessly and deliver the desired outcome.
Keep it simple
Bootstrap ReactJS indeed offers a lot of powerful features and components. However, the advice is to try only some of them on your website; you might get lost in it, and the result may not come out as you expected. Therefore, keeping things simple is essential if you’re just a beginner.
Use semantic HTML
The components of Bootstrap ReactJS are built using semantic HTML. Make sure to use this on your website to improve accessibility and SEO.
Use Bootstrap’s JavaScript plugins.
Bootstrap has many useful JavaScript plugins that can enhance the functionality of your application. Examples include modals, carousels, and tooltips. You can use these plugins by importing them into your application and then calling them in your React code.
Keep your code modular.
When using Bootstrap with React, it’s crucial to keep your code modular. This means breaking down your application into smaller, reusable components that can be easily maintained and updated.
The best choice for stunning and responsive websites
Bootstrap and ReactJS are powerful tools that, when put together, can make web development easier and more efficient. By following the step-by-step guide Sunbytes has provided, you can quickly get started with Bootstrap and ReactJS, creating stunning and responsive web applications in no time.
Remember to take advantage of the many components and libraries available in Bootstrap and ReactJS to streamline your development process and create high-quality user experiences. With the skills you have learned in this guide, you can take your web development projects to the next level and stay ahead of the curve in this ever-evolving industry. So, start practicing and experimenting with Bootstrap and ReactJS today and see how they can take your web development skills to new heights.
Just a small reminder that if you’re a business owner searching for Bootstrap ReactJS talents to help build your business, Sunbytes has got you covered.
We’ll help you hire the best dedicated developers who can master this framework with free consultancy. Feel free to drop us a line!
Frequently Asked Questions
Bootstrap ReactJS is a combination of Bootstrap and ReactJS that allows developers to create responsive and mobile-first websites using ReactJS easily. It provides a set of pre-built components that leverage the power of ReactJS to build complex user interfaces while taking advantage of Bootstrap’s features and components. Bootstrap is a free and open-source front-end framework developed by Twitter, while ReactJS is a JavaScript library for building user interfaces developed by Facebook
To set up a React project with Bootstrap, follow these steps:
-
Create a new React project: Run
npx create-react-app my-appand thencd my-appto navigate to the project directory -
Install Bootstrap: Run
npm install bootstrapin your terminal -
Import Bootstrap: Add
import 'bootstrap/dist/css/bootstrap.css';to your index.js file -
Create your components: Start building your React components in separate files
There are four main ways to install Bootstrap with React:
-
Using CDN: Copy the CDN URL and add it to your
public/index.htmlfile, though this method has drawbacks like not allowing component-based usage -
Using npm or yarn: Install with
npm install bootstrapand import it in yoursrc/index.jsfile -
Using React Bootstrap: Install with
npm install react-bootstrap bootstrapfor a React-friendly version built from the ground up -
Using Reactstrap: Install with
npm install --save reactstrap react react-domfor Bootstrap components designed for React applications
Bootstrap is the original CSS framework that requires jQuery and JavaScript dependencies, while React Bootstrap is a complete rebuild of Bootstrap components using React. React Bootstrap eliminates the need for Bootstrap’s JavaScript and jQuery dependencies, allowing you to work with React components that maintain Bootstrap’s functionality and styling. Instead of manipulating the DOM directly, you work with React components
Common troubleshooting steps include:
-
Ensure Bootstrap CSS is properly imported in your main file
-
Check that component names are correctly imported from react-bootstrap
-
Verify that both bootstrap and react-bootstrap packages are installed
-
Make sure you’re using the correct className syntax instead of class
-
Check for any conflicting CSS that might override Bootstrap styles
-
Ensure you’re importing components from the correct package (react-bootstrap vs reactstrap)


